Contents:
- Why More People Are Learning to Cut Their Own Hair
- The Essential Tools for Cutting Your Own Hair
- Professional Hair-Cutting Scissors
- Clippers for Fading and Short Hair
- Additional Equipment
- Preparation: The Critical First Step
- Understand Your Hair Type
- Start with a Clean, Dry Baseline
- Section Your Hair Systematically
- Basic Techniques for Different Hair Lengths
- Trimming Long Hair (Shoulder-Length and Longer)
- Point-Cutting for Texture
- Blending Sides and Fading
- The “What the Pros Know” Sidebar
- Common Mistakes to Avoid
- Cutting Too Much, Too Fast
- Failing to Account for Hair Shrinkage
- Cutting When Distracted
- Using Dull Blades
- Forgetting the Back of Your Head
- How to Cut Your Own Hair vs. Cutting Your Own Bangs
- Post-Cut Care and Styling
- Frequently Asked Questions
- How often should I cut my own hair?
- Can I cut very short hair like a fade or undercut myself?
- What if I make a mistake?
- Can I colour my hair and cut it on the same day?
- Is cutting your own hair more damaging than salon cutting?
- Moving Forward: Building Confidence
You can cut professional-quality hair at home—and save hundreds of pounds annually doing it. Most people believe they need a salon chair and a licensed stylist to achieve decent results. That’s simply not true. With the right tools, technique, and understanding of your own hair’s behaviour, you can maintain healthy, well-shaped hair between salon visits or eliminate salon trips entirely.
Why More People Are Learning to Cut Their Own Hair
The rise in DIY hair cutting isn’t a passing trend—it’s rooted in economics and practicality. A single haircut in the UK costs between £25 and £80, depending on your location and stylist experience. Over a year, getting a trim every 6-8 weeks means spending £150–£400 on maintenance alone. For families, that multiplies quickly. Beyond cost, there’s control: you decide when to cut, how much to take off, and exactly how you want your hair shaped.
The COVID-19 pandemic accelerated this shift, but the momentum has stuck. People discovered that basic competence with scissors beats waiting three months for a salon appointment. Salons have adapted too, with many now offering paid consultations specifically to teach clients maintenance techniques.
The Essential Tools for Cutting Your Own Hair
You cannot use regular kitchen scissors. Fabric scissors won’t work either. The wrong tools create jagged, damaged ends and hair that looks worse after cutting than before. Invest in proper equipment once, and it lasts years.
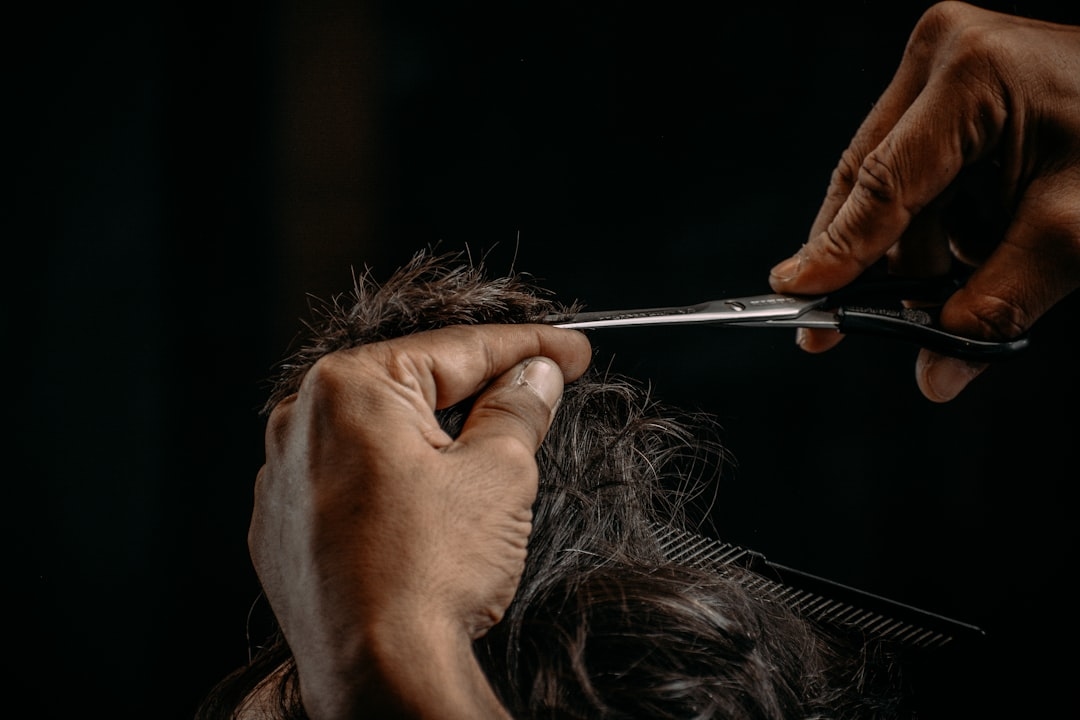
Professional Hair-Cutting Scissors
Professional-grade hair shears cost between £30 and £150. You don’t need the premium end for home use. A mid-range pair (£40–£70) from brands like Jaguar or Olivia Garden will perform excellently and last a decade. Key features: stainless steel blades with a razor-sharp edge, ergonomic handles, and proper weight balance. The blades should glide through hair cleanly without crushing it.
Avoid multi-function scissors marketed as “hair and craft” tools. They’re compromises that do nothing well. Similarly, electric hair clippers differ fundamentally from scissors—use each for its intended purpose.
Clippers for Fading and Short Hair
If you’re cutting very short hair, textured hair, or creating faded styles, clippers are essential. A quality cordless clipper with multiple guard sizes (typically 0.5mm to 25mm) costs £40–£80. Brands like Wahl and Andis are industry standards. Clippers work by vibrating at high speed; scissors work through cutting action. They’re not interchangeable.
Additional Equipment
You’ll need:
- A fine-tooth comb for sectioning and detangling (£3–£8)
- Hair clips to hold sections in place while you work (£4–£6 for a set)
- A spray bottle filled with water to dampen hair during cutting (£2–£4)
- A hand mirror and ideally a larger mirror on your wall (combined cost £10–£20)
- Towels or a cape to catch falling hair (reuse what you have)
Total initial investment: £100–£200 for quality tools. That pays for itself after two or three professional haircuts skipped.
Preparation: The Critical First Step
Understand Your Hair Type
Before cutting, know what you’re working with. Curly hair behaves differently than straight hair when wet versus dry. Wavy hair can surprise you once it dries. The safest approach: always cut hair when it’s dry and in its natural state. Dry cutting shows exactly what length you’ll have after washing and styling. When hairstylists cut wet hair, they’re accounting for shrinkage and movement you can’t predict at home.
If your hair is curly or textured, never cut it while wet. Curls can shrink 2–4 inches when they dry, meaning you’ll accidentally remove far more length than intended.
Start with a Clean, Dry Baseline
Wash your hair 12–24 hours before cutting. This removes product buildup and allows natural oils to return, protecting the scalp and making hair easier to manage. Dry your hair completely using your normal method—blow-dryer, air-drying, or diffuser. Cut it exactly as it will be after your regular styling routine.
Never cut immediately after washing. Wet hair clings to the scalp and appears longer than it actually is. You’ll cut more than you intended.
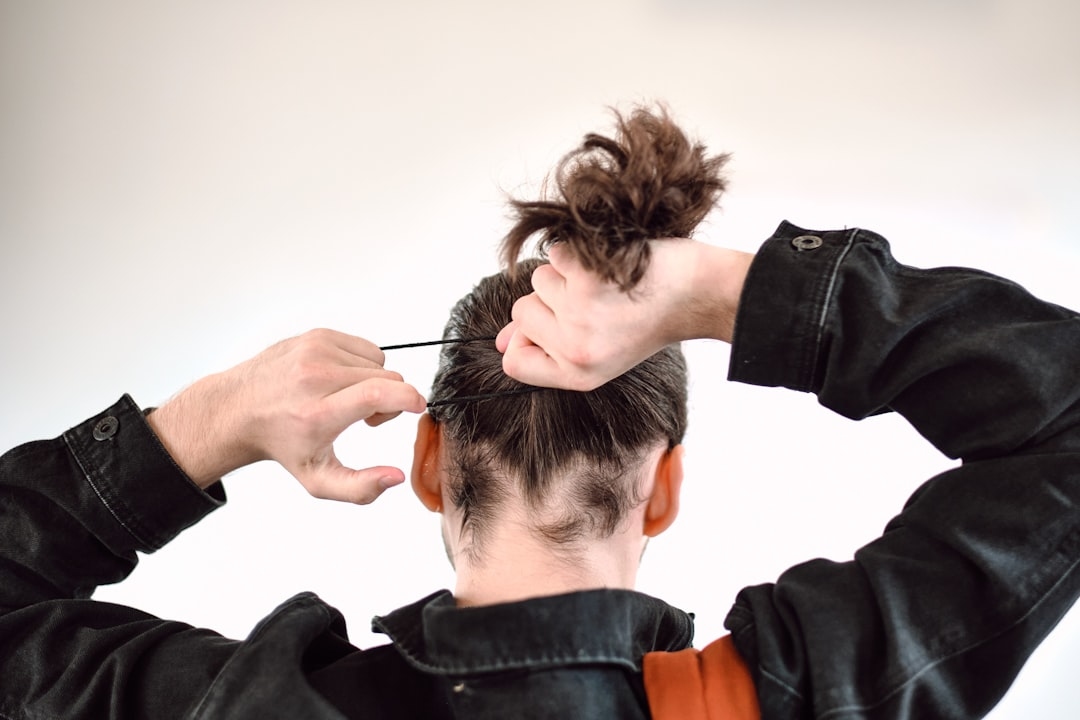
Section Your Hair Systematically
Divide your head into sections using the comb and clips. The standard method:
- Create a centre part from forehead to nape
- Create a horizontal part from ear to ear across the crown
- This creates four quadrants plus a centre section
- Clip everything up except the section you’re working on
This prevents you from cutting randomly. You work methodically, keeping track of length and ensuring evenness.
Basic Techniques for Different Hair Lengths
Trimming Long Hair (Shoulder-Length and Longer)
For a simple trim to remove dead ends without changing your overall style, follow this method:
- Start at the back. Release one quadrant and comb through thoroughly
- Cut parallel to the floor. Hold a section horizontally between your fingers, about an inch from the ends
- Use straight cuts (blunt cuts) for clean, even lines. Your scissors should be parallel to the ground
- Cut no more than half an inch at first. You can always remove more; you cannot add length back
- Move to the next section, ensuring each piece matches the previous one in length
- Work your way around the head, leaving the front for last
For the front pieces, which frame your face, you might prefer them slightly longer than the back. Measure carefully before cutting.
Point-Cutting for Texture
Point-cutting removes length while creating softer, more textured ends. Instead of cutting straight across, angle your scissors vertically (pointing up) and cut into the hair at intervals. This creates a choppy, layered effect without the bluntness of a straight cut. It’s more forgiving for beginners because small variations are less noticeable.
Use point-cutting when your hair feels too thick, when you want movement, or when straight lines aren’t working cleanly.
Blending Sides and Fading
For short hair or faded styles, clippers do most of the work. Use progressively longer guard sizes to create a gradient—start with a shorter guard (1 or 1.5) at the temples and nape, then move to a longer guard (2 or 2.5) as you move upward. This prevents harsh lines and creates a polished fade.
Always move clippers against the direction of hair growth (upward on the sides, for example). Make overlapping passes, and don’t rush. Speed leads to mistakes.
The “What the Pros Know” Sidebar
Professional hairstylists make dozens of cuts per week and feel hair movement instinctively. You won’t achieve that speed or precision immediately, and that’s normal. What separates professional results from amateur ones isn’t speed—it’s removing less hair and working in sections. Professionals take smaller sections (about one inch square) than most DIY cutters. Smaller sections = more control = better results. If your first attempt feels clumsy, you’re probably doing it correctly by not rushing.
Common Mistakes to Avoid
Cutting Too Much, Too Fast
Removing a quarter inch feels like nothing. Removing two inches feels like a lot—and looks extreme. The most common mistake is underestimating how much hair you’ve removed because small cuts accumulate. Cut a little, step back, assess, then cut more. This sounds tedious but takes only an extra minute and prevents regret.
Failing to Account for Hair Shrinkage
Curly and wavy hair shrinks noticeably when dry. Straight hair shrinks less, but it still shrinks slightly. If you cut curly hair while damp, it will be 2–4 inches shorter once completely dry. Always cut dry, textured hair when it’s fully dry and in its natural state.
Cutting When Distracted
Haircuts require focus. Don’t attempt this while tired, rushed, or watching television. Mistakes made in distraction-filled minutes take weeks to grow out.
Using Dull Blades
Dull scissors tear hair instead of cutting it cleanly. Torn ends feel rough and look dull. If your scissors don’t glide through a strand of hair effortlessly, they need professional sharpening (usually £5–£10 at a salon or knife shop). Or replace them.
Forgetting the Back of Your Head
The back is hardest to see and easiest to miss. Use two mirrors—one in front, one on a table or stand behind you. Or ask a friend or family member to help with the back section. Many people successfully manage the sides and front alone but neglect the nape, creating an uneven result.
How to Cut Your Own Hair vs. Cutting Your Own Bangs
Cutting your entire head differs from cutting just bangs. Full-head haircuts require understanding proportions and evenness across your whole head. Bangs (fringe in British English) are a smaller, more forgiving project that also offers disproportionate results—new bangs change your entire face frame instantly.
If you’re new to hair cutting, try cutting bangs first. They’re a low-risk way to build confidence and learn how hair actually responds to scissors. Mistakes with bangs can be hidden or grown out in 4–6 weeks. A mistake with a full haircut affects your appearance for months.
For bangs specifically: section them off clearly, keep them damp (not soaking), cut blunt and straight, and err on the side of longer. You can always trim them shorter; you cannot lengthen them.
Post-Cut Care and Styling
After cutting, your hair needs attention. Run water through it to remove loose clippings. Style it as you normally would—blow-dry, air-dry, or apply product. This reveals how your cut actually looks and whether any additional trimming is needed while you still have your tools out.
In the days following, your hair might feel slightly strange or styled differently. This is normal. Your hair’s shape has changed, and your styling habits might need adjustment. Give yourself a week before deciding whether the cut was successful.
To maintain your cut, moisturise regularly (use a conditioner suited to your hair type), avoid excessive heat styling, and trim every 6–8 weeks. Regular small trims maintain shape better than waiting months between cuts.
Frequently Asked Questions
How often should I cut my own hair?
Most hair grows about half an inch per month. Dead ends appear after 6–8 weeks for those with shoulder-length or longer hair. Short hair shows growth and requires trimming every 3–4 weeks to maintain shape. Cut when you notice split ends, when you feel your style losing shape, or on a scheduled routine—don’t wait until it looks terrible.
Can I cut very short hair like a fade or undercut myself?
Yes, with clippers and guard sizes. Fades require more skill than a simple trim because they demand precision with blending. Start with a simple single-guard cut (like a crew cut or buzz cut) before attempting fades. Watch video tutorials repeatedly before attempting them, and have a friend check your work from all angles.
What if I make a mistake?
Mistakes are survivable. If you cut unevenly, you have options: cut slightly shorter overall to even it out, use point-cutting to disguise the unevenness, or wait 2–3 weeks for hair to grow slightly and then fix it. Visit a salon if the mistake severely impacts your appearance—they can often correct or minimise damage. A professional cut costs less than months of bad hair.
Can I colour my hair and cut it on the same day?
Colour first, then cut. Colouring can slightly swell or damage hair temporarily, affecting how it cuts. Waiting 24–48 hours between colouring and cutting ensures clean, predictable results. Additionally, colouring and cutting create enough change in one session—spreading them apart reduces decision fatigue and allows you to assess results separately.
Is cutting your own hair more damaging than salon cutting?
Not inherently. A sharp blade—whether held by you or a stylist—cuts cleanly and causes minimal damage. A dull blade or incorrect technique damages hair similarly whether it’s your mistake or a stylist’s. The key is using proper tools and careful technique. Most people who report damage from home haircuts used kitchen scissors or hurried technique, not actual hair-cutting equipment.
Moving Forward: Building Confidence
Learning how to cut your own hair is genuinely achievable. The first cut always feels uncertain. By your third or fourth cut, muscle memory develops and the process feels less fragile. By your tenth cut, you’ll understand your hair’s specific behaviour and can troubleshoot issues as they arise.
Start with a simple trim on long hair. Once comfortable, attempt slightly more complex styles like layering or fading. Document your progress with photos—comparing your results week to week shows improvement that you might otherwise miss.
The money you save compounds. Skipping five salon visits annually saves £125–£400. Reinvest that into quality tools, and you’ve covered your equipment cost within one year. After that, it’s pure savings—time and money both spent on exactly what you want, exactly when you want it.